

I began with building a 2000pt list from my selection of models and used that as my goal post. When I began the project I knew the end goal was to be able to play a game of 40k at my local club with a fully painted army. Once I hit that goal and I saw how quickly the army was painting up I went all in to paint every last model in my collection (with the exception of a few that I donated to a young follower of The Lion in my local club).


I decided to keep with the traditional army colors of green, bone, and black for the various groups in the army and starting with the primed models I gave everything a moderate drybrush using a lighter color to help pop out the hard details. I deviated a bit with the bone-colored Deathwing Terminators at this point as I gave them all a quick sepia wash while not doing any washing on the green or black units.


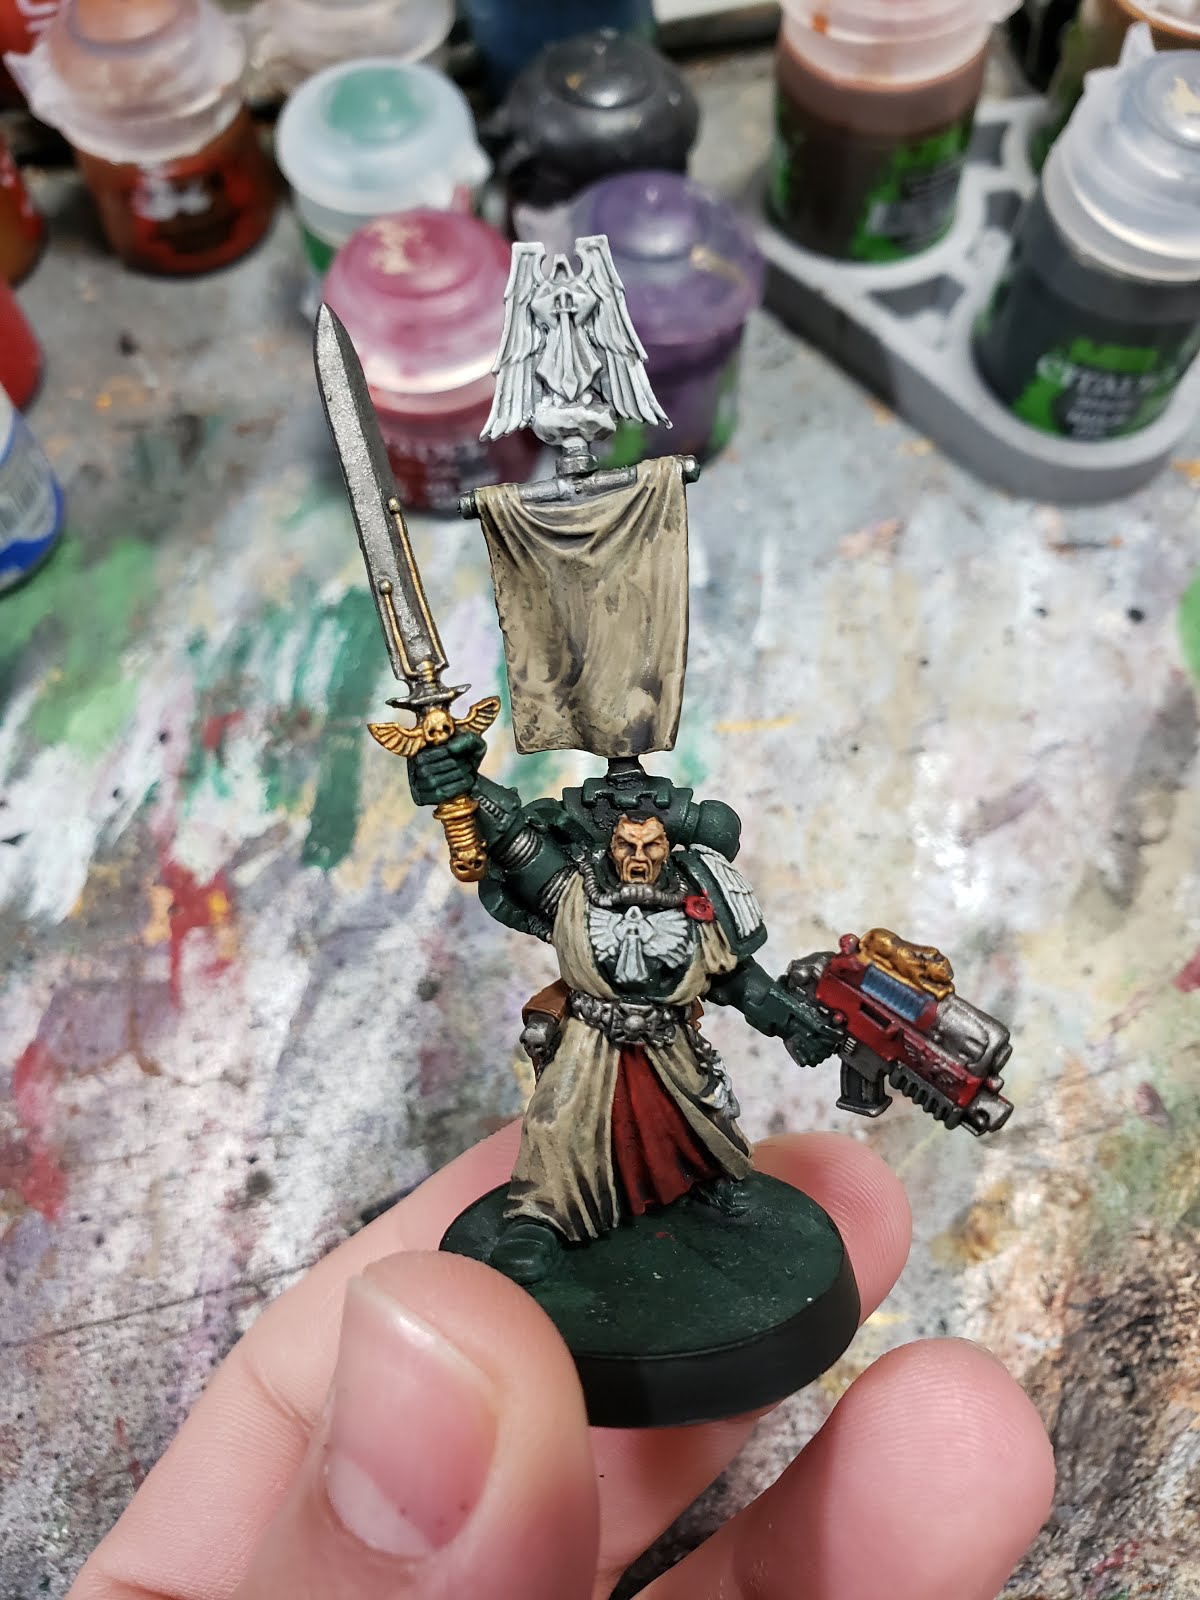
From here I grabbed a unit at a time starting with the more standard marines. I focused on painting from the outside in on the models and since this was a speed paint I wasn’t sweating the details. I went over each model and hit the guns, armour joints, grenades, and various bits with a nice silver. I next used an off white for any symbols on the armour followed by a parchment brown/yellow for all the purity seals. I ended my detail work with red on the gun casing, wax seals, certain armour symbols and finally the eye lenses. Once this was dry I got everything (that was not flesh) with a diluted black wash to blend it all together a bit more.

The Ravenwing units were done in much the same way despite being black in color. I would occasionally dry brush a bit of black over my prior drybrush of dark grey if I saw my work was a bit too heavy-handed. I would then detail and wash and move to the next unit. My Terminators saw the same colors being used as well as a black wash, but I made sure to not get the black wash on the sepia washed armour and used it just on the detail work to tie it with the rest of the force.


When it came time to base the army I chose a bright crackle paint to help contrast the darker models. I kept the base paint thin and did not use any wash on it. I will likely go back one day and spruce up the bases but for the time being the current basing gets the job done nicely. All in all, I managed to knock out a 2000pt army in just under 14 hours and completed the entire collection in a single week. There were a few long days put in as I had time off for the holiday, but I enjoyed every bit of it as the simplicity of armour means you can turn out a nice model in no time at all.


What really helped was keeping my pallette limited and knowing when a model was “good enough” for the goal of my project. I won’t say I am done adding to the army, but I am happy with where it stands currently in the fact that I can play games at my local club with a fully painted army that looks great on the board. I want to give a shout out here at the end to my friend Vince Venturella and his “Army in a day” video which helped me through the project.

FOR THE LION and Happy Hobbying!
Chuck Moore